
Introduction
Hi! I am Gianluca Squillace, a Senior 3D artist from Milan, Italy. In this article, I’ll show you how to create and set up a clay render scene in Marmoset Toolbag. I’ll discuss lighting techniques, break down my material setup, and how to set up render passes in Toolbag to achieve the coveted clay character look.
Setting up the Scene
I’ve often thought about getting a good render of a sculpt with little time spent on the project. I was looking for how to render my high poly model with a clay material and a clean look while creating a reusable scene to import future sculpt models and obtain the same result easily.
The scene includes a basic 3-point lighting setup with the following:
- A main key light that defines the light direction and cast shadows
- A cold fill light to make a nice contrast with the color of the clay material
- A strong rim light that highlights the character’s silhouette
You can also use a backdrop mesh to create a nice light reflection and ground shadows. Toolbag’s support for Object Presets in the Library makes mimicking a studio setup simple, allowing you to drag and drop pre-saved meshes and lighting setups into your scene.
Additionally, Toolbag is really powerful for calculating high poly models and using ray tracing to get crisp, realistic renders. And its real-time viewport allows quick positioning of lights, which is extremely useful for the next step.

Lighting Setup
After importing and placing your model, you must set the key light direction. Always try to create a nice light and contrast shadow to avoid flat lighting. I worked with a white Spot light, changed the Shape to a Rectangle, and played with the shape’s Size to get nice and soft shadows. Avoid exaggerating the light intensity to not blow out the highlights and lose the character’s main shapes.

You can easily parent your light under a Turntable and shuffle through the Timeline bar to rotate the light around your model to find your desired light direction.
Work on the cold fill light as soon as you define the main light. You can try different orientations, but it is usually placed on the key light’s opposite side. In this case, I used another Spot light with a Rectangle shape. Remember to always play with various light sizes and types to obtain different shadows.

Additional Lights and Render Passes
Toolbag allows you to create different render passes that help with additional editing and compositing. For example, you can use a Position render pass to add a nice up-down gradient to your character (bright to dark or warm to cold, for example) or an ID Mask that permits you to easily select some specific areas with flat colors and modify them as you wish. Want brighter hair or darker eyelashes? You can easily modify with a fast color selection directly in Photoshop or your editing software of choice. It speeds up the process a lot without creating additional renders. In the image below, you can see how easily you can add different render passes in the Render object (1) and view it directly in viewport before exporting (2)..

Here are some of the render passes that I always use for my projects:
- Lighting (Indirect): Essential to make a nice highlight, catch the silhouette, and drastically change the final result.
- Diffuse (Direct): Use this to add some scatter details in the thin areas, like ears.
- Ambient Occlusion: This helps to define little contact shadows and increase shapes’ readability. You can also try different colors than black.

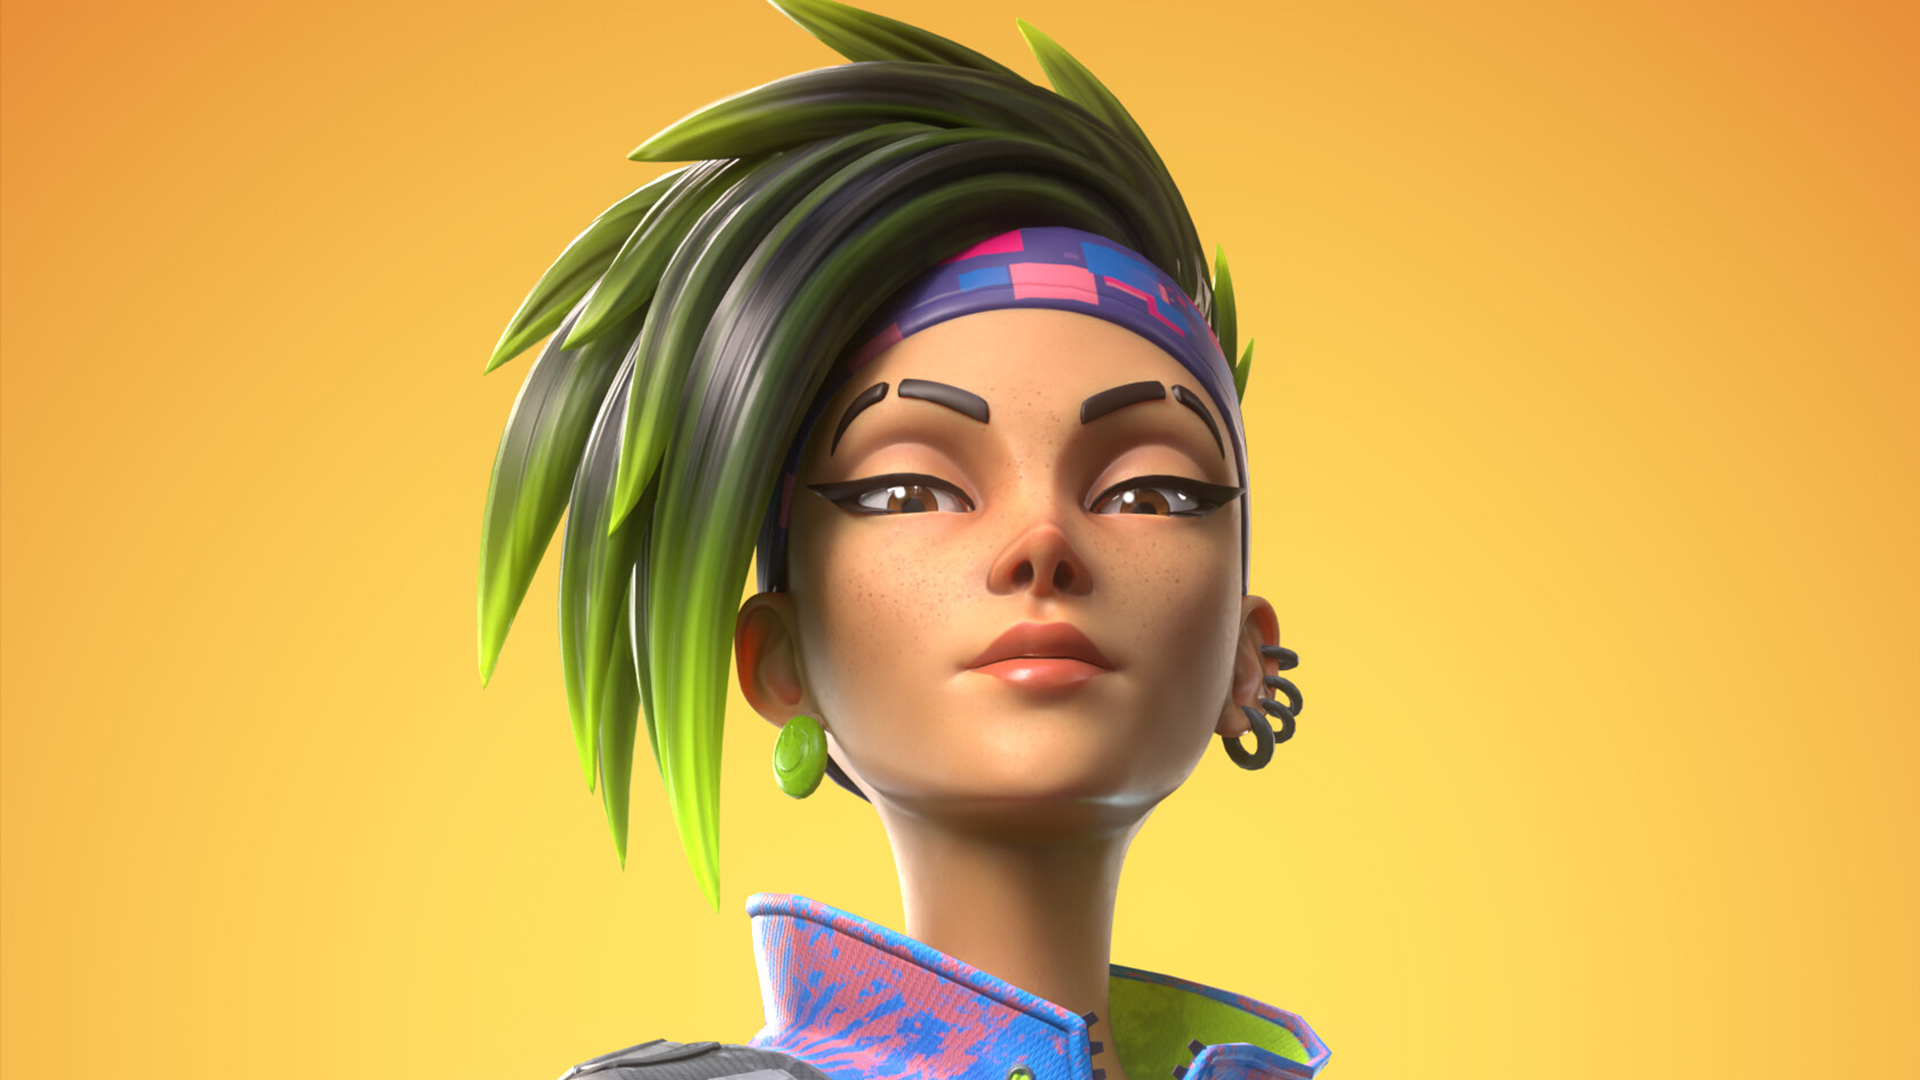
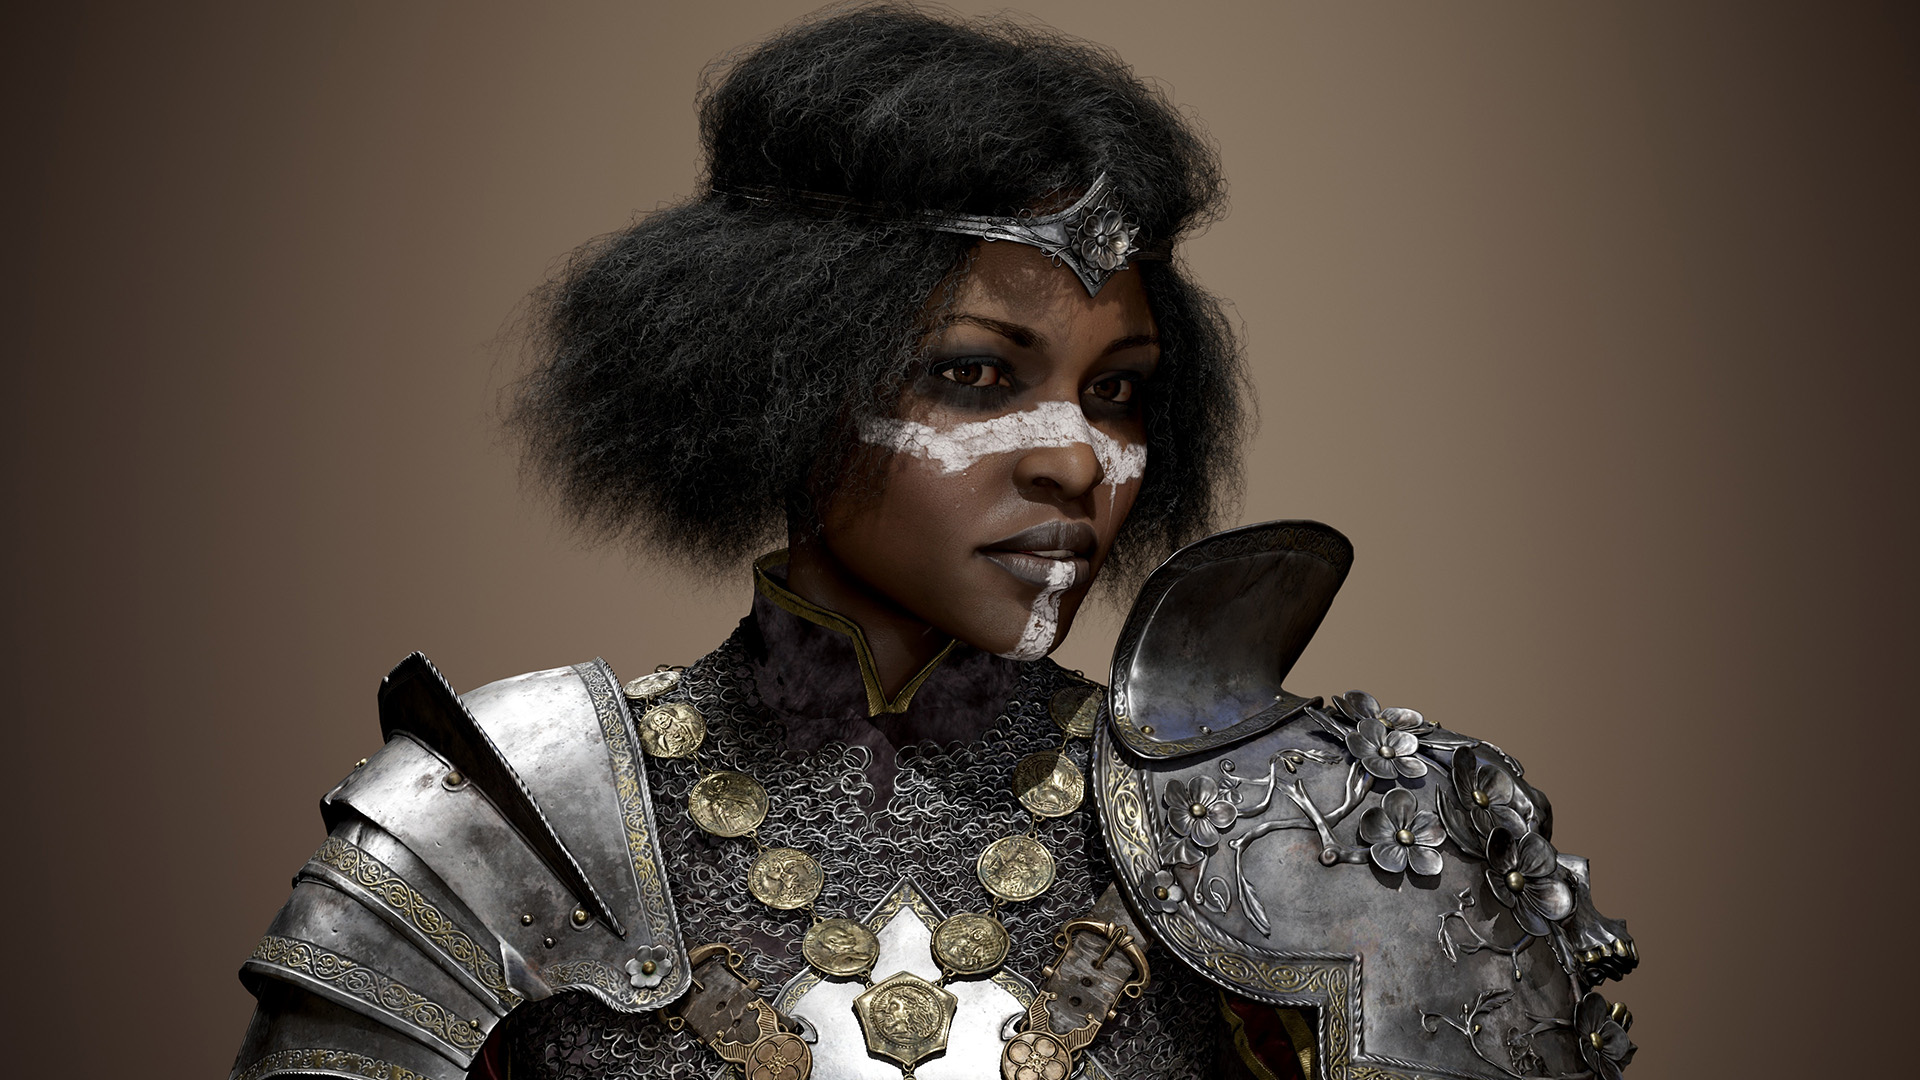
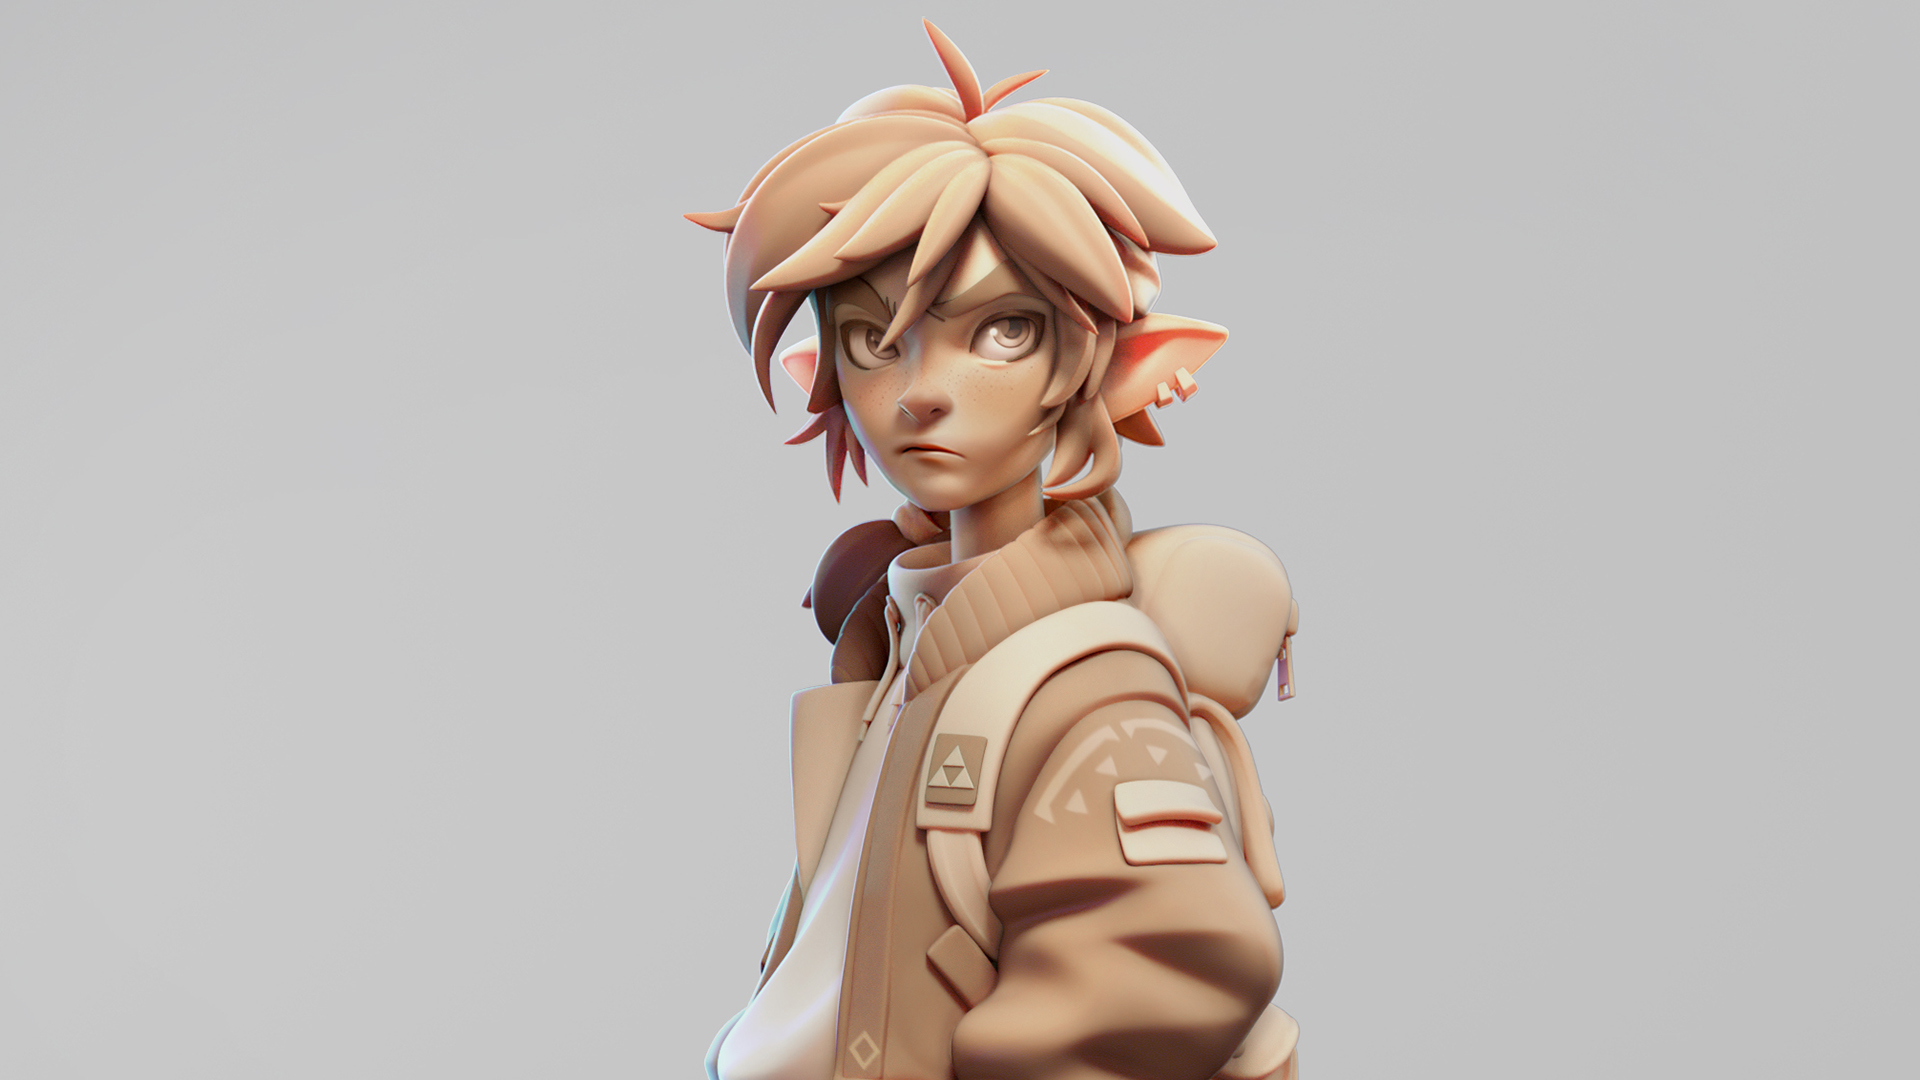
Clay Material Setup
Setting up your materials is the next step to gain the final result. Below is the setup that I’ve used for clay and eyes.

The most important values to change are certainly:
- Albedo: In this case, I have used a lighter and darker clay color for different meshes, which I think works very well with this render, but don’t forget to play with different colors or grey versions of the same shader.
- Subsurface Scattering: This works perfectly with Ray Tracing enabled and allows to obtain a light and soft result. Try playing with Scatter Depth and Fuzz values until you achieve the desired result.
- Roughness and Specular: These two indispensable parameters will help you find the result you like best. In this case, I wanted a soft shading result on the model that contrasted with the clear and reflective specular of the eyes.
Moreover, it’s possible to use additional materials like a refractive material for glass jars or containers or emissive materials for glowing gemstones on jewelry.

That’s a Wrap
After making the final renders, I usually go through a compositing workflow where I add any remaining details (i.e. the iris and some freckles).
Below is a gif showing some of the render passes on the left side and the final composited render on the right.

I really hope this guide has been helpful. Remember to save and reuse things such as materials and light setups in future projects easily! You can do this by saving your material files to the Library or exporting them as *.tbmat files. If you have any questions, feel free to reach me on my social media accounts.
We would like to thank Gianluca Squillace for writing this breakdown. You can find more of Gianluca’s work on Artstation. Create your own clay renders in Toolbag using the free 30-day trial.
If you’re interested in collaborating on a tutorial or breakdown article, please send us your pitch and a link to your artwork to submissions@marmoset.co.